The best free video capture software depends on your actual use case. Instead of downloading every recorder, you can choose based on what you need most:
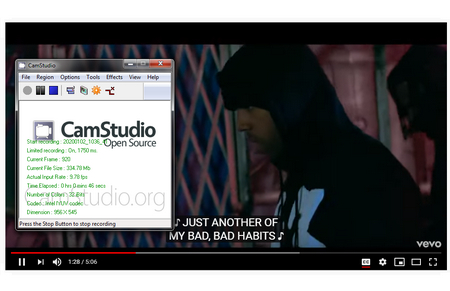
👉 If you use a low-end PC or laptop, choose a lightweight recorder or lower your recording settings. Xbox Game Bar, CamStudio, ScreenToGif, ShareX, and WonderFox HD Video Converter Factory Pro are worth considering for less demanding recording tasks. OBS can also work, but you may need to reduce resolution, FPS, and bitrate.
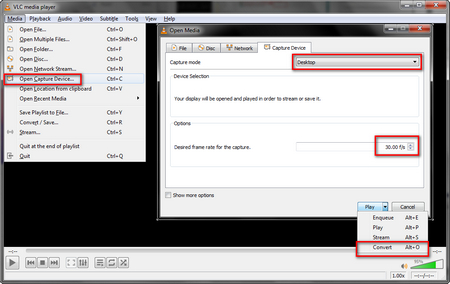
👉 If you need an offline screen recorder for PC, choose desktop software that can record and save files locally. OBS, Xbox Game Bar, ShareX, VLC, Debut, and WonderFox HD Video Converter Factory Pro are more suitable than browser-based or cloud-first tools.
👉 If you want to record video chats, online meetings, video conferences, or webinars, make sure the tool can capture both screen and audio. OBS, Xbox Game Bar, ShareX, Free Cam, ScreenRec, and WonderFox HD Video Converter Factory Pro can all be considered depending on your workflow.
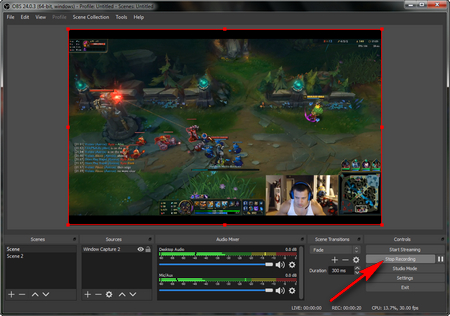
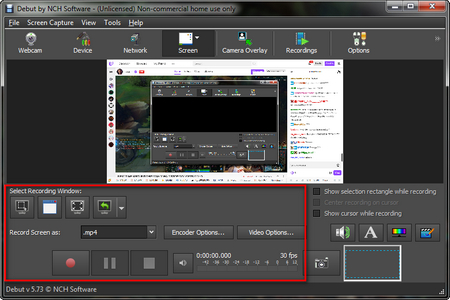
👉 If you need HD or 4K screen recording, focus on output settings and hardware performance. OBS, NVIDIA ShadowPlay, Debut, and WonderFox HD Video Converter Factory Pro are stronger choices. But keep in mind that 4K recording requires more CPU, GPU, and storage space.
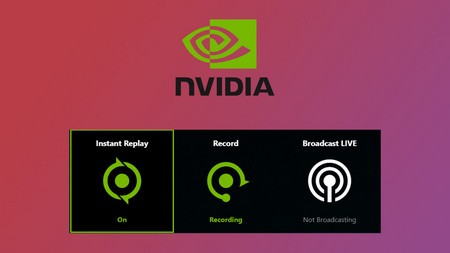
👉 If you want no-lag screen recording, the tool is only one part of the answer. You should also close unnecessary programs, record to a fast drive, lower the resolution or frame rate when needed, and use hardware acceleration if available. NVIDIA ShadowPlay is a good gaming option for supported NVIDIA users, while OBS gives more manual control.
👉 If your focus is gaming clips, NVIDIA ShadowPlay, Xbox Game Bar, OBS, and Fraps-style recorders are the most relevant. ShadowPlay is better for NVIDIA GPU users who want quick game clips, while OBS is better if you need advanced settings and streaming support.
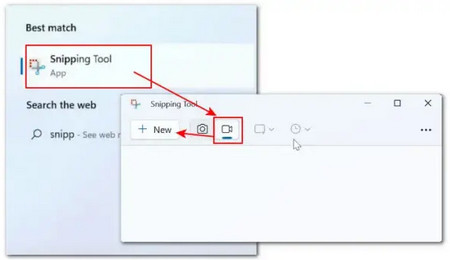
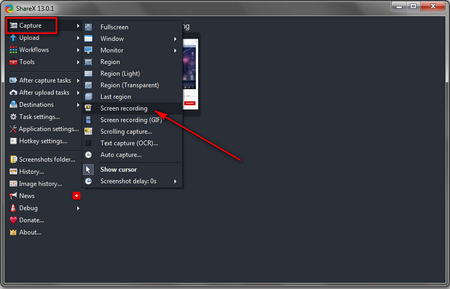
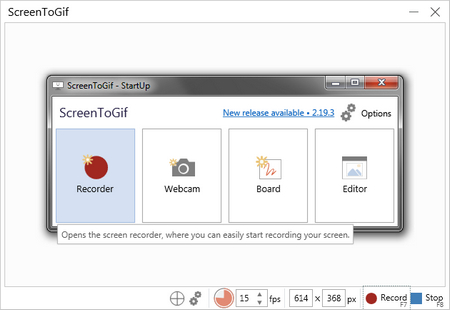
👉 If you are looking for a Snipping Tool alternative, ShareX, ScreenToGif, and Xbox Game Bar are good choices depending on whether you need screenshots, GIFs, or video recording. Snipping Tool itself is fine for short selected-area recording on Windows 11.
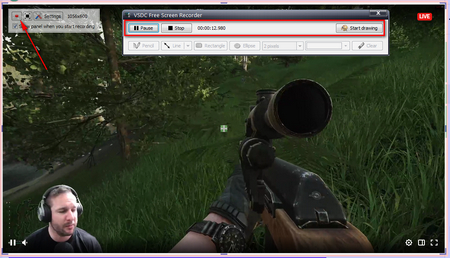
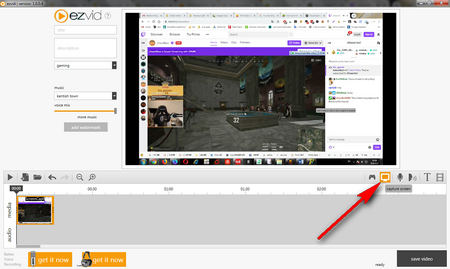
👉 If you need a screen recorder with editing features, Free Cam, Ezvid, VSDC, and WonderFox HD Video Converter Factory Pro are more suitable than tools that only capture the screen.
👉 If you are still using Windows 7, pay attention to compatibility. Windows 7 does not include Xbox Game Bar, and some new screen recorders may no longer support it. CamStudio, ShareX, older OBS versions, and WonderFox HD Video Converter Factory Pro can be considered for Windows 7 users.
👉 If you are using Windows 10 or Windows 11, you have more options. Xbox Game Bar and Snipping Tool are built-in choices, while OBS, ShareX, Free Cam, Debut, and other desktop recorders can cover more advanced needs.
Some users prefer Chrome screen recorder extensions (such as Screencastify, Loom, and Fluvid) because they are fast and convenient for browser-based tasks. That can be true if you only want to record a web page, a browser lesson, or a quick tab demo.
However, browser extensions are usually more limited than desktop software. They may restrict recording length, export options, or free usage. For that reason, they are often better as a secondary solution rather than your main recording tool.
If you want more flexibility and fewer limitations, desktop video capture software is usually the better choice.
Related Reading: Free Online Voice Recorder | MP4 Recorder | Record Twitch Stream | Capture YouTube Videos | Capture Video from DVD