


Are you searching for an easy and efficient way to record audio only on Windows 11? Here in this post, we’d like to introduce you with a competent audio recorder for Windows 11, as well as detail how to record audio on Windows 11 using the handy tool. Just read and follow.
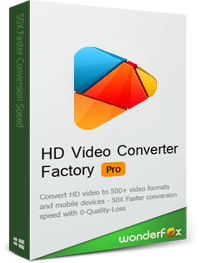
WonderFox HD Video Converter Factory Pro is feature-packed yet extremely easy-to-use software that you can use to capture everything happening on your PC screen. Equipped with an Audio-only mode, it gives you facility to quickly and simply capture internal audio, external audio, or both as needed and allows recording audio directly into MP3, WAV, AAC, or AC3. There is no time limit. Moreover, there are some built-in editing tools for you to trim your recording and cut out unwanted sections.
Next, let’s take a look at how to record audio only on Windows 11 using WonderFox Screen Recorder.
Not only can WonderFox Recorder record audio, but it also can record Zoom meetings, Google Meet, streaming videos, gameplay, etc., in HD MP4, MOV, AVI, MKV (with sound). After recording, it also lets you trim, crop, compress and convert the recording efficiently. Try it now.
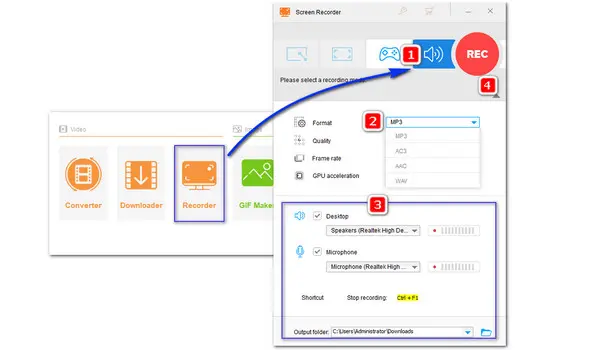
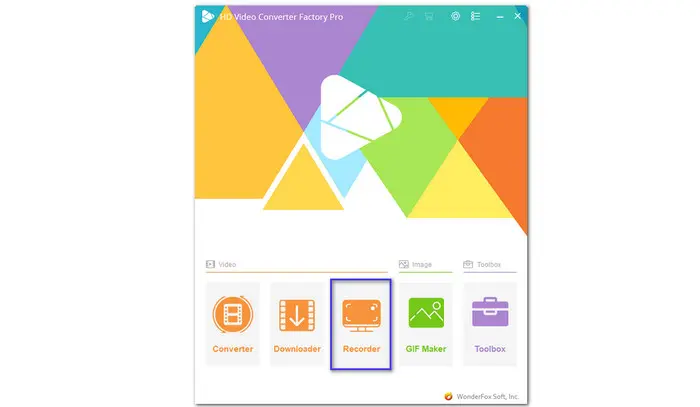
Free downloadFree download this robust audio recorder and install it on your Windows 11 PC. Then launch the program and open Recorder.

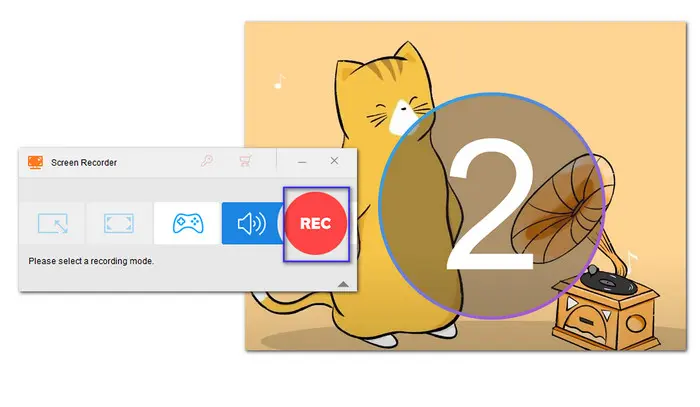
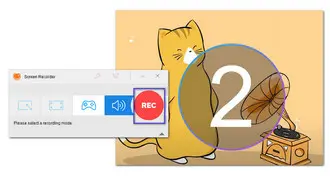
Hit the fourth Speaker icon to enable the Audio-only mode. Then click on the triangle button to expand the drop-down options for audio formats: MP3, AC3, AAC, and WAV. Choose one based on your needs.
Tips: MP3 is highly recommended as MP3 files can function on a wide range of software and services. But if you wish to get a high-quality audio recording, WAV wins hands down.
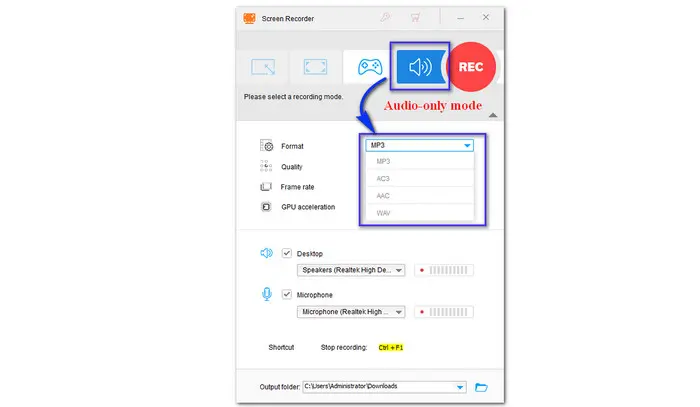

Select the audio source between “Desktop” and “Microphone”, or use both to record two audio sources at the same time. Then, specify an output path at the bottom of the interface.
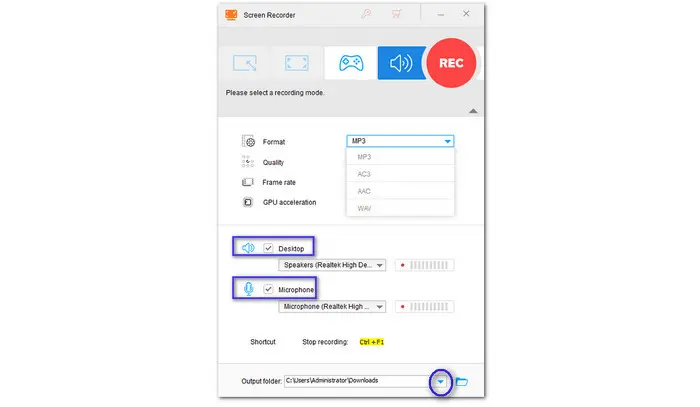
Hit the red “REC” to record audio on PC Windows 11. When the recording is over, press hotkeys “Ctrl + F1” to stop the recording.
Sound Recorder, previously named Voice Recorder in Windows 10, is one of the built-in Windows apps updated for Windows 11. It gets a new UI with some updated features and is still easy to use. But there appears to be a 3-hour time limit. Here is a quick guide on how to record audio on Windows 11 using this simple sound-recording application.
----Step 1. You can visit Microsoft store to get the latest version of Sound Recorder. If you’ve installed it, simply type Sound Recorder in the search bar;
----Step 2. After launching, select the recording device from the drop-down menu at the bottom-left corner. Then hit the red “Record” button to start recording audio. Click on the same button again to stop recording;
You can hit the Marker to add marks to the audio while recording.
----Step 3. At the upper-left corner, you can right-click on the recorded audio file to Share, Delete, Rename, or Open the file location.
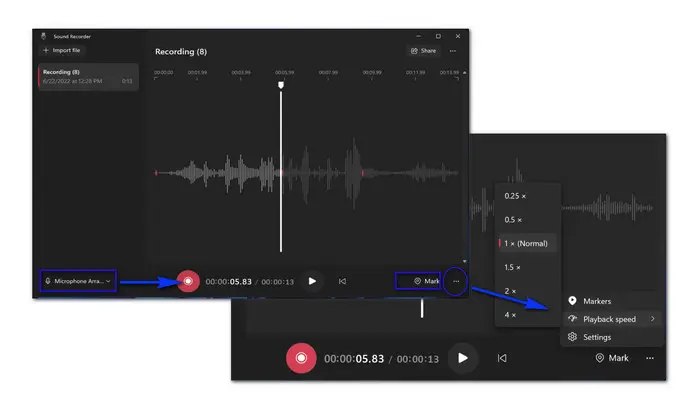
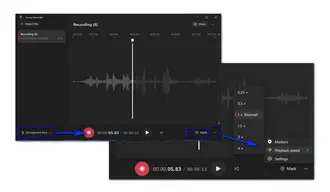
Note: Click on the three dots at the bottom-right corner, you can edit the added markers, adjust the playback speed, and change recording format.
Above is all the information about how to record audio files on Windows 11. Both recorders are easy to use. But if you want a feature-rich Windows screen and audio recorder, WonderFox HD Video Converter Factory Pro is a better choice. It allows you to record screen and audio without limitations, in many formats, and in different modes. You can also convert, edit, or compress recordings after recording. Anyway, hope this post can be helpful. That’s all. Thanks for your reading!

Terms and Conditions | Privacy Policy | License Agreement | Copyright © 2009-2026 WonderFox Soft, Inc.All Rights Reserved