
 How to & Tips
![]() Convert Video
Convert Video

![]() Convert Video
Convert Video
![]() by Oswald
by Oswald
Updated on July 17, 2023
As of early March 2021, Neptune Rising is no longer in cy4root repository, MR FREEWORLD repository, Blamo Repo Reborn repository, etc. that's why you find Neptune Rising disappeared from your repo. Additionally, with original Blamo repo and Magicality repo shutting down and no longer available for addon installation, Neptune Rising users have to seek assistance from some practical Neptune Rising alternatives to proceed their Kodi journeys.
In that case, you'll find this page helpful. In the following, I've listed the best Neptune Rising alternative addons - the best working movies & TV shows Kodi addons. Here we go.
· This page introduced the only feasible way of Neptune Rising installation.
· Update Kodi to the latest version to avoid potential issues that might come with Neptune Rising.
· You have to set Kodi to allow installation from unknown sources to install third-party addon/repos.
· For more alternatives, please see our Best Kodi Addons list.
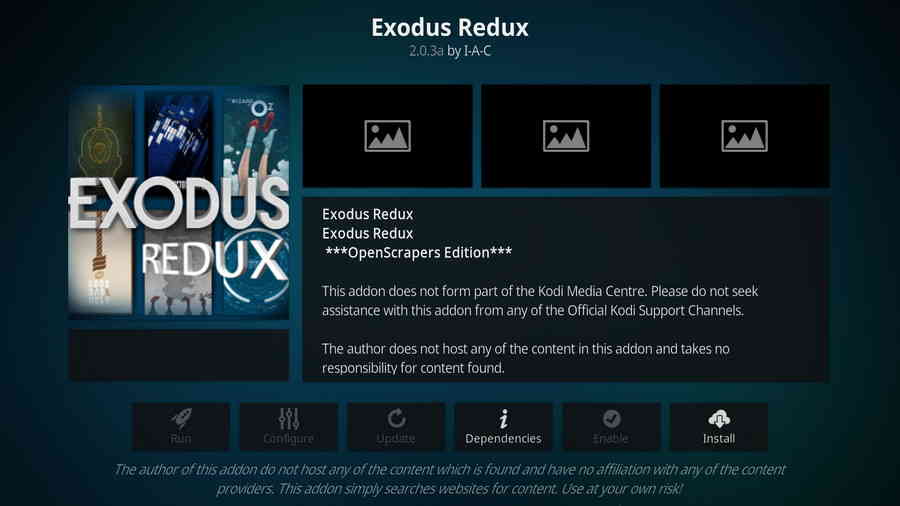
Exodus Redux is a fork from the renowned Exodus - one of the most popular and practical addons on Kodi with which you can access free and high-quality movies, TV shows, live channels, live sports, etc. worldwide. With the help of its attached movie scrapper: OpenScrapers, you can easily get your movies poster, cast, tags, subtitles, etc. so as to create a tiny movie theatre of your own. The point is, for those who care for enjoying media resources on Kodi, Exodus is so not to be missed.
Step 1. Launch Kodi, from the main menu, click System icon from the upper side of the left panel.
Step 2. Click on the File manager module from the System menu.
Step 3. Double click on the Add source bar on the left side.
Step 4. Click on <None>.
Step 5. Copy and paste or type in exactly https://i-a-c.github.io/ in the popup location box, then click OK.
Step 6. Enter a name redux for the added media source in the lower box. Then click OK.
Step 7. Go back to the main menu and click Add-ons from the left panel.
Step 8. Click on the box icon from upper side of the left panel.
Step 9. Click on Install from zip file.
Step 10. Click on the source redux we just added to Kodi.
Step 11. Click on the repository.exodusredux-x.x.x.zip file within, x.x.x stands for the repo version.
Step 12. Wait until you can see a message pops up on the upper-right side saying Exodus Redux Repo Add-on installed. Then click Install from repository.
Step 13. Select Exodus Redux Repo.
Step 14. Click Video add-ons.
Step 15. Select Exodus Redux, then click Install. Click OK to install additional dependencies and add-ons when a dialog pops up.
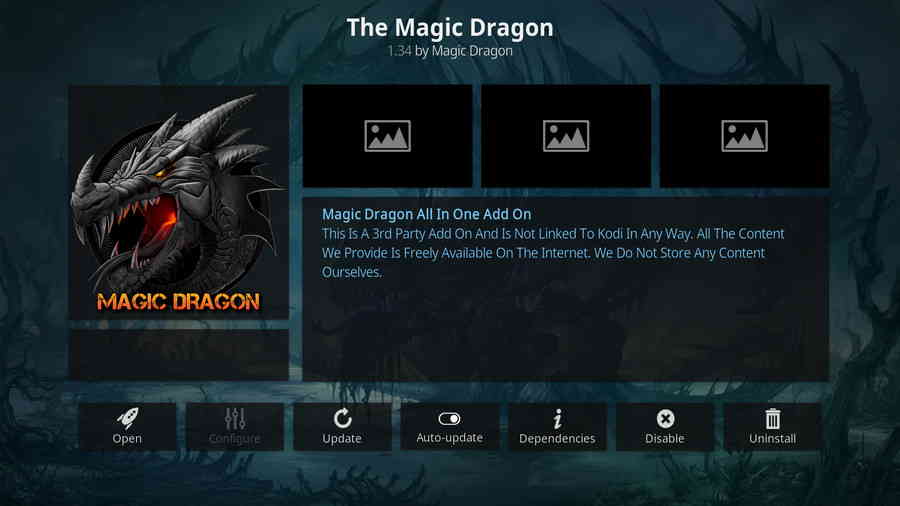
Magic Dragon is one of the best working Kodi addons you can find, featuring mainly rich media inventory and navigable categories. It presents fast and high-quality movies, Catch Up TV, Documentary, People Watching, New Screeners, New Movie Releases, Cams/HDTS Releases, 1 Click HD torrents, etc. for its users for free.
As one of the Kodi addons that support Real-Debrid service, the integration of The Magic Dragon and Real Debrid can be implemented much easier than most popular Kodi addons. From its Real-Debrid Authorization section, one can easily attach Real-Debrid URL resolvers to The Magic Dragon.
Step 1. Launch Kodi, from the main menu, click System icon from the upper side of the left panel.
Step 2. Click on the File manager module from the System menu.
Step 3. Double click on the Add source bar on the left side.
Step 4. Click on <None>.
Step 5. Copy and paste or type in exactly https://ezzer-mac.com/repo/ in the popup location box, then click OK.
Step 6. Enter a name diamond for the added media source in the lower box. Then click OK.
Step 7. Go back to the main menu and click Add-ons from the left panel.
Step 8. Click on the box icon from upper side of the left panel.
Step 9. Click on Install from zip file.
Step 10. Click on the source ezzer mac we just added to Kodi.
Step 11. Click on the repository.EzzerMacsWizard-1.1.6.zip file within, x.x stands for the repo version.
Step 12. Wait until you can see a message pops up on the upper-right side saying ***Diamond Build Repo (Primary Server, Main Repo)*** Add-on installed. Then click Install from repository.
Step 13. Select ***EzzerMacs Wizard Repository Add-on installed***.
Step 14. Click Video add-ons.
Step 15. Select The Magic Dragon, then click Install. Click OK to install additional dependencies and add-ons when a dialog pops up.
· Here you can go to the step-by-step with picture guide on how to install The Magic Dragon addon on Kodi.
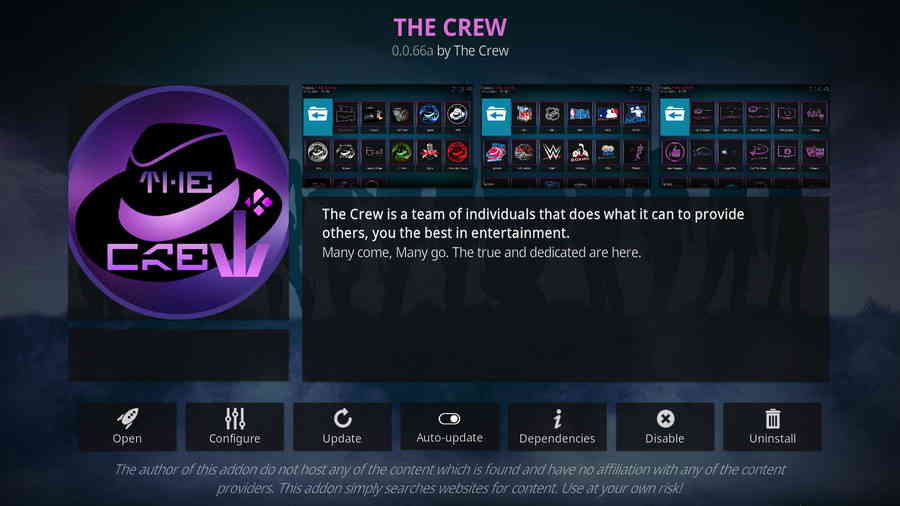
Developed by THE CREW team, titled after the same name of the repository it belongs, The Crew is a major addon selection from THE CREW REPO repository, and claims to provide users with the best in entertainment on Kodi. As a new candidate of the best Kodi addon, The Crew certainly outsmarts its elderly counterparts like Kodi Covenant.
Not just free movies, IPTV, TV shows, TV episodes like many Kodi addons do, it also provides users with mouthwatering Holiday Cheers; live sports including: NFL, NHL, NBA, MLB, etc.; Kids; Fitness; Food & Brews; 1 Click; Stand Up Comedy and more. Also, the basic The Crew installation is already integrated with free torrent providers, Trakt & Real-debrid, etc. there is no doubt about the content The Crew serves us, the only worry you should have, is what to enjoy first.
Step 1. Launch Kodi, from the main menu, click System icon from the upper side of the left panel.
Step 2. Click on the File manager module from the System menu.
Step 3. Double click on the Add source bar on the left side.
Step 4. Click on <None>.
Step 5. Copy and paste or type in exactly https://team-crew.github.io/ in the popup location box, then click OK.
Step 6. Enter a name the crew for the added media source in the lower box. Then click OK.
Step 7. Go back to the main menu and click Add-ons from the left panel.
Step 8. Click on the box icon from upper side of the left panel.
Step 9. Click on Install from zip file.
Step 10. Click on the source the crew we just added to Kodi.
Step 11. Click on the repository.thecrew-x.x.x.zip file within, x.x.x stands for the repo version.
Step 12. Wait until you can see a message pops up on the upper-right side saying The Crew Repo Add-on installed. Then click Install from repository.
Step 13. Select The Crew Repo.
Step 14. Click Video add-ons.
Step 15. Select The Crew, then click Install. Click OK to install additional dependencies and add-ons when a dialog pops up.
· Here you can go to the step-by-step with picture guide on how to install The Crew addon on Kodi.
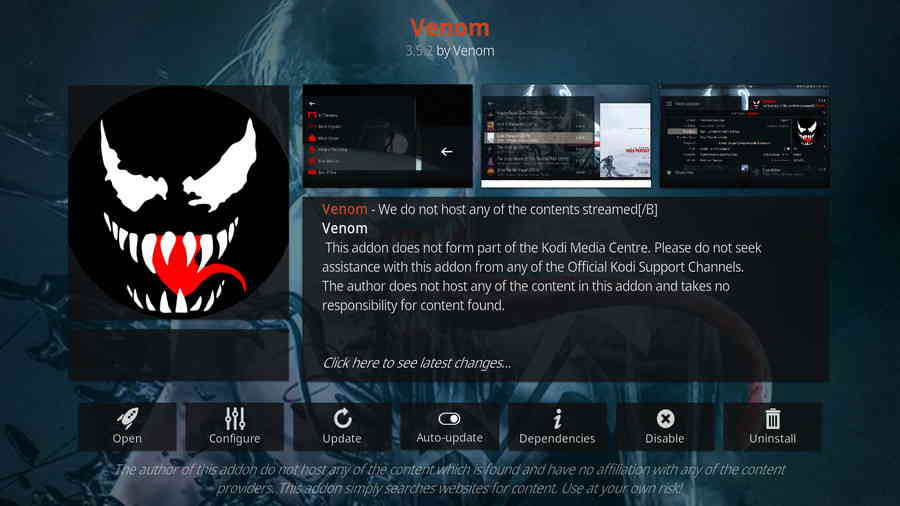
Kodi Venom is one of the best Kodi addons. Venom is a movie & TV show addon that works exactly like Exodus, grabbing high-quality media stream on the internet for users without cost - and Venom does so efficiently.
What's more, Venom specially features auto playback, meaning users don't have to individually pick sources while watching, Venom will automatically decide what's on next. All in all, Venom is a great addon that movie lovers should totally have a try.
Step 1. Launch Kodi, from the main menu, click System icon from the upper side of the left panel.
Step 2. Click on the File manager module from the System menu.
Step 3. Double click on the Add source bar on the left side.
Step 4. Click on <None>.
Step 5. Copy and paste or type in exactly https://123venom.github.io/ in the popup location box, then click OK.
Step 6. Enter a name venom for the added media source in the lower box. Then click OK.
Step 7. Go back to the main menu and click Add-ons from the left panel.
Step 8. Click on the box icon from upper side of the left panel.
Step 9. Click on Install from zip file.
Step 10. Click on the source venom we just added to Kodi.
Step 11. Click on the http://repository.venom-x.x.zip file within, x.x stands for the repo version.
Step 12. Wait until you can see a message pops up on the upper-right side saying Venom Repo Add-on installed. Then click Install from repository.
Step 13. Select Venom Repository.
Step 14. Click Video add-ons.
Step 15. Select Venom, then click Install. Click OK to install additional dependencies and add-ons when a dialog pops up.
· Here you can go to the step-by-step with picture guide on how to install Venom addon on Kodi.
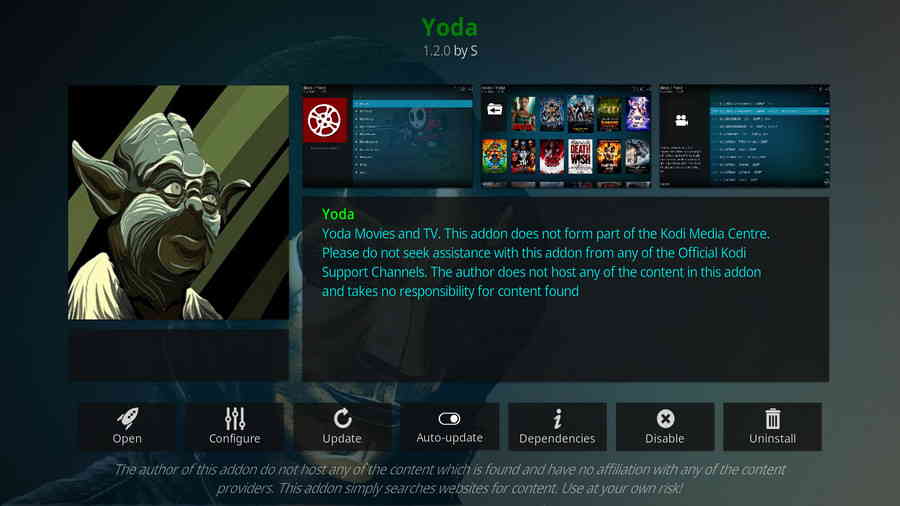
Update: Yoda addon is long discontinued, we advise user opt to use updated addons. Please see our best Kodi addons list to find alternatives.
As a fork of Exodus/Covenant, Yoda is well-maintained and provides users with a good deal of high-quality movie resources. Also, the basic installation of the Yoda addon has already integrated with many practical movie scrapers that help to enrich movie information with ease.
With a simple click on a movie poster from Yoda's well laid out interface, fast and high-quality online video streams will be presented to you in a bit.
Step 1. Launch Kodi, from the main menu, click System icon from the upper side of the left panel.
Step 2. Click on the File manager module from the System menu.
Step 3. Double click on the Add source bar on the left side.
Step 4. Click on <None>.
Step 5. Copy and paste or type in exactly http://ghost-repo.de/ in the popup location box, then click OK.
Step 6. Enter a name ghost for the added media source in the lower box. Then click OK.
Step 7. Go back to the main menu and click Add-ons from the left panel.
Step 8. Click on the box icon from upper side of the left panel.
Step 9. Click on Install from zip file.
Step 10. Click on the source ghost we just added to Kodi.
Step 11. Click on the repository.Ghost.zip file within.
Step 12. Wait until you can see a message pops up on the upper-right side saying Ghost Repo Add-on installed. Then click Install from repository.
Step 13. Select Ghost Repo.
Step 14. Click Video add-ons.
Step 15. Select Yoda, then click Install. Click OK to install additional dependencies and add-ons when a dialog pops up.
· Here you can go to the step-by-step with picture guide on how to install Yoda addon on Kodi.