


You can create memory videos from photos you took in the past and share them with family and friends. The technique you need to learn is how to make a photo slideshow, preferably with music.
In this article, I will show you a few easy and effective ways to help you create a slideshow from your photos. Use the left navigation to quickly access the section that interests you.
Creating a photo slideshow on Windows is easy and there are many programs and apps that can do it. But you don’t need to look for a third-party tool, the default Microsoft Photos app will suffice.
Besides helping you view images on your computer, Microsoft Photos allows you to organize your photos into albums that can be played as a continuous slideshow and exported as a video. Additionally, you can add audio to your slideshow. Please follow these steps:
Step 1. Open Microsoft Photos on your Windows 10 computer.
Step 2. Click ‘Video Editor’ at the top.
Step 3. Click ‘New video project’. Then name your video and click ‘OK’.
Step 4. Click the ‘+Add’ button and select ‘From this PC’, ‘From my collection’, or ‘From the web’ to import the photos you want to include in the slideshow.
Step 5. Select all items in the project library and place them in ‘Storyboard’.
Step 6. Customize image order and duration, and add a title card, text, and transition as needed.
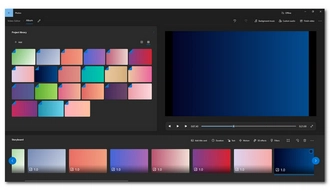
Step 7. Select ‘Background music’ and click on the desired music track to go with your slideshow. Alternatively, you can click ‘Custom audio’ and insert external audio.
Step 8. Click ‘Play’ to preview the slideshow. If you get the results you want, click ‘Finish video’ at the top and select a quality, then export the file to a local folder.

On Windows 11, you can also use the preinstalled video editing app Clipchamp to make a slide presentation with pictures:
Step 1. Open Microsoft Clipchamp on Windows 11 and log in with your account.
Step 2. Select ‘Create a new video.
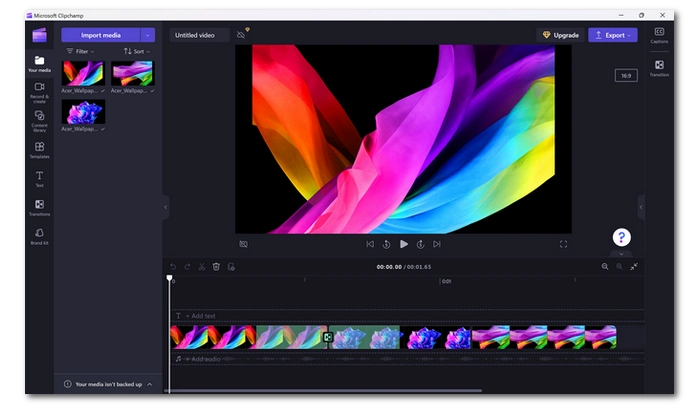
Step 3. Click the ‘Import media’ button and select the photos from your computer. You can also upload them by dragging and dropping.
Step 4. Add the imported photos to the timeline and arrange them in the desired order.
Step 5. Use the handles on each photo to trim the duration. Then customize your slides by adding transitions, text, and audio.
Step 6. Click the ‘Play’ button to preview the slideshow.
Step 7. When you’re satisfied with the result, click the ‘Export’ button at the top right corner and select a quality to save the slideshow to your computer or share it on social media.
The Apple Photos app on Mac is the equivalent of Microsoft Photos, not only organizing your photos and images but also providing advanced editing features like making a slideshow of photos. The steps are very simple:
Step 1. Open the Apple Photos app on your Mac.
Step 2. Go to ‘File’ > ‘Create’ > ‘Slideshow’ > ‘Photos’. Give your slideshow a name and click ‘OK’.
Step 3. Select the photos you want to display in the slideshow and click the "Add" button at the top right corner.
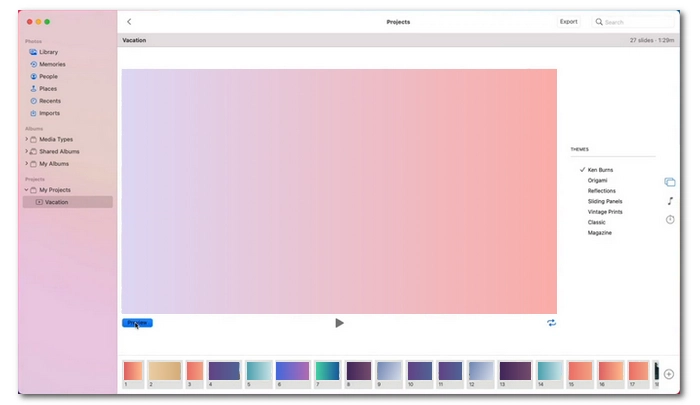
Step 4. In the slideshow project, you can click the ‘Preview’ button to view the slideshow.
Step 5. Then drag the photos to reorder them. Click the ‘+’ icon on the right to add more photos or insert text.
Step 6. Use the sidebar options on the right to choose an animation theme and background music for your slideshow.
Step 7. Click ‘Duration’ (clock icon) to adjust the slide length to fit to music or customize the duration. Make any other adjustments if you find them necessary.
Step 8. Click the "Export" button at the top right corner or go to ‘File’ > ‘Export’ and select the output path and quality of the slideshow.
Step 9. Click the "Save" button to save the slideshow as a video file.
If you want to create a photo slideshow on your iPhone or iPad, you can just use the default Apple Photos app. It comes with a memory video feature that makes it easy to organize photos by date, people and location, and then automatically generates memory videos for you.
However, you can create your own slideshow. Just like creating a slideshow on your Mac, it’s also easy to do on your mobile device using Photos. You can also edit your slideshow by adding custom music and themes. But remember, there is no option to export the slideshow. Just follow these instructions:
Step 1. Open the Photos app on your iPhone or iPad.
Step 2. Tap the ‘Select’ button at the top and select the desired photos. Then tap the three-dot icon located next to the trash can at the bottom and select ‘Add to Album’.
Step 3. In the photo album, tap the three-dot icon at the top right corner and select ‘Slideshow’.
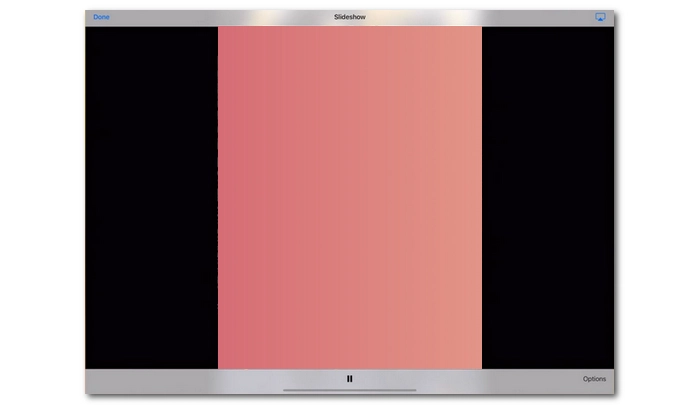
Step 4. Hit ‘Play’ to play the slideshow. Then tap ‘Options’ and adjust the theme, music, and playback speed according to your preferences.
Step 5. Tap the share icon at the top right corner to play the slideshow on other Apple devices over the same Wi-Fi.
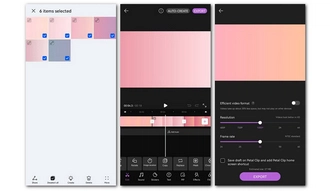
Android users can also use the native Gallery app to turn your photos into a slideshow video. Here’s how to create a photo slideshow using the Gallery app:
Step 1. Open the Gallery app on your Android device.
Step 2. Select the photos you want in the slideshow and tap ‘Create’ > ‘Video’.
Step 3. Customize your slideshow video with animations, filters, and other options.
Step 4. Tap ‘Image duration’ and adjust the duration for all photos.
Step 5. Tap ‘Sound’ to add music, sound effects or record narration.
Step 6. Play the video to see the results.
Step 7. If you are happy with the result, tap ‘Export’ and select the output format and quality, then tap ‘Export’ to save it to your phone.

Note: Depending on your phone model, you may not be able to find the slideshow feature in the Gallery. In this case, you need to seek an external app such as Photo SlideShow Maker or use an online slideshow maker.
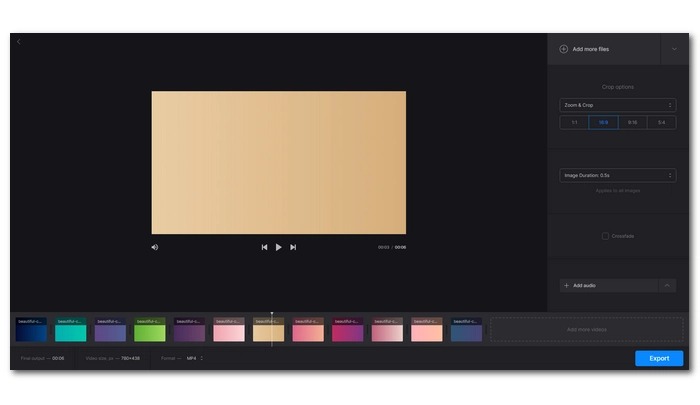
As long as you have a strong internet connection, you can create a slideshow of photos on the web. Among various online slideshow makers, you can try Clideo, a free and simple tool that provides the easiest way to make a photo slideshows online.
Step 1. Go to Clideo’s Slideshow Maker page.
Step 2. Click the ‘Choose files’ button and upload the images you want.
Step 3. Drag and drop photos to change the display order.
Step 4. On the right panel, select a crop option and target size. Then adjust the image duration as needed.
Step 5. Click the ‘Add audio’ button to add background music to the slideshow.
Step 6. Click the ‘Play’ button to preview the result.
Step 7. Click the ‘Export’ button located at the bottom right corner.
Step 8. Wait for the slideshow to be created. Once it's ready, click the ‘Download’ button to download it to your device.
Note: The free version of the service has a watermark on videos.

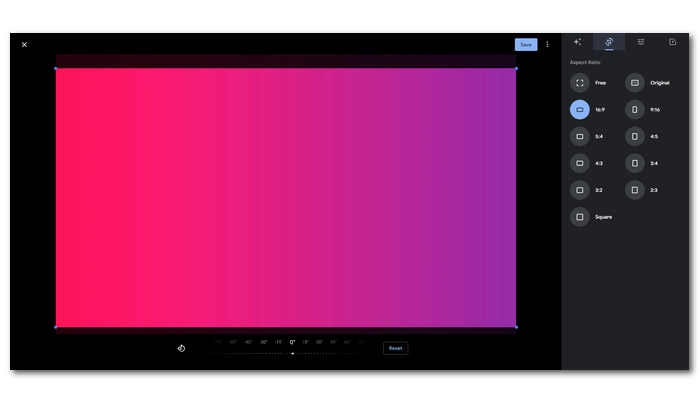
Apart from Clideo, you can use Microsoft product – Google Photos to efficiently manage and create a slideshow from your photos. You can learn how to make a slideshow in Google Photos below.
Tip: This service is also available for download as an app on Android and iPhone.
Step 1. Go to Google Photos and log in with your account.
Step 2. Click ‘Albums’ on the sidebar and open the album containing the photos you want to include in your slideshow. If you don’t have a photo album, click ‘Create album’ and add photos to it.
Step 3. Click on the three-dot icon at the top right corner and select ‘Slideshow’. The slideshow will start in full-screen mode with a 5-second fade between photos.
Step 4. Exit full screen and click the ‘Edit’ icon at the top right corner. You can then edit the slide's colors, aspect ratio, and filters.
Note: You cannot download the slideshow as a video.
You can also use other great programs to turn your photo album into a slideshow, including PowerPoint and VLC. If you already have them installed on your computer, just use them to create the slideshow you want. Here's how to make a slideshow of pictures in PowerPoint:
Step 1. Put all the photos you want in the slideshow into a folder and open PowerPoint on your computer.
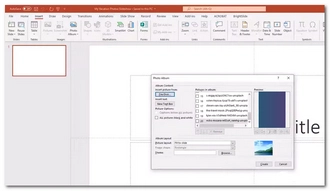
Step 2. Go to the ‘Insert’ tab and click ‘Photo Album’ > ‘New Photo Album’.
Step 3. Click ‘File/Disc’ and insert the folder that contains the desired photos.
Step 4. Select an item from the ‘Pictures in album’ section and use the ↑ ↓ option to move it up and down to change the order.
Step 5. If necessary, click New Text Box to insert text.
Step 6. Choose ‘Fit to slide’ or other layout in the ‘Picture layout’ drop-down box.
Step 7. Click ‘Create’ and wait for the slides to be generated.
Step 8. Customize the slide cover, title, transition and other options as you see fit.
Step 9. Play these slides in slideshow mode.
Tip: If you want to save your slides as a video, you can refer to this article: Two Simple Ways to Convert PowerPoint to Video.

VLC as a universal media player not only plays video and audio files but also images. It lets you play your photos in a slideshow instantly. See more details here >> how to make a slideshow with VLC?
Turning a photo album into a slideshow isn't difficult if you use the right tool. In most cases, the default photos app on your device are already enough to use. But when you need advanced features, you can also find other programs like Google Photos, PowerPoint, etc. that will help you even more.
That’s all I want to share in this article. I hope it was useful to you. Thanks for reading to the end. Have a great day!
The easiest way to make a photo slideshow is to use an online tool like Google Photos or Clideo, which can help you convert your photos into a slideshow video without installing software.
The best program depends on personal preferences and specific needs. But for most users, PowerPoint is a great choice for creating picture slideshows.

WonderFox DVD Ripper Pro
WonderFox DVD Ripper Pro is a professional DVD ripping program that can easily rip any DVD (whether homemade or commercial) to all popular formats including MP4, MKV, MOV, AVI, MP3, WAV, H264, H265, Android, iPhone, and so on. It also lets you edit and compress DVD videos efficiently. Download it to enjoy a fast and trouble-free DVD ripping experience.
Terms and Conditions | Privacy Policy | License Agreement | Copyright © 2009-2024 WonderFox Soft, Inc.All Rights Reserved