


If there's something in your video that you don't want the public to see, you can easily cover that part with a mosaic. All you need is a mosaic video editor. In this article, I'll show you five ways to add mosaics to your videos on Windows, Mac, and online. Please read on.
WonderFox Free HD Video Converter Factory is a multipurpose video program that offers a range of video editing features, including effects, to edit videos for free.
With just a few clicks, it can help you easily add mosaic, blur, and other video effects to cover a still object in your video. It supports almost all formats and delivers high-quality output. Now you can Download Download this free software and try it out.
Your one-stop solution to add effects, trim, join, crop, rotate, compress, and convert videos on Windows. All formats supported. Download the software for free!
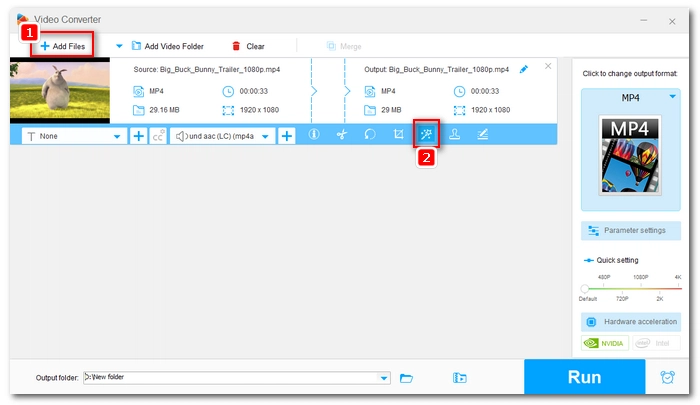
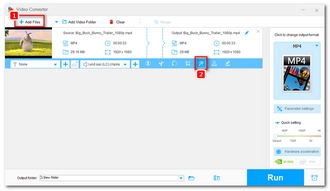
Run the software and open “Converter”. Then click “Add Files” to add a video to the program. You can also drag and drop the file directly into the interface.
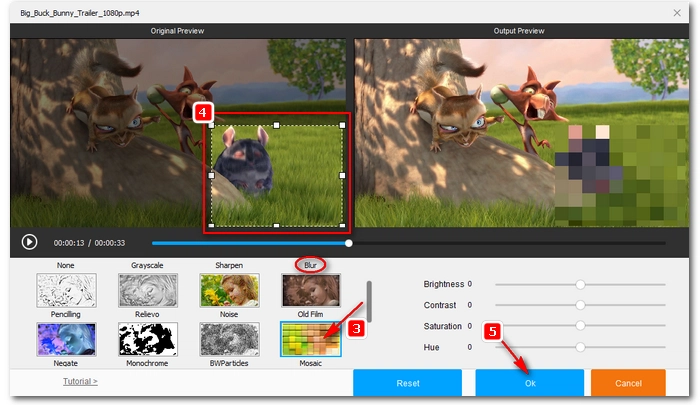
Next, click the Magic Wand icon to open the “Effect” window.
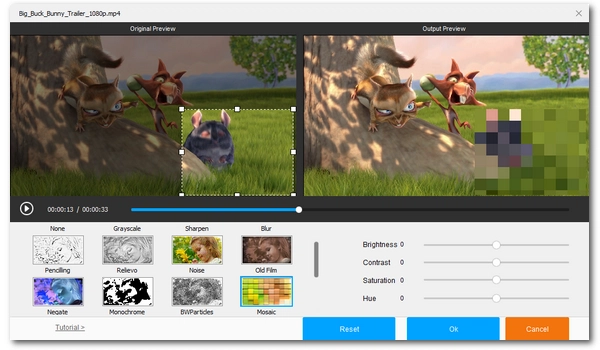
Browse the effects on the lower left and select the “Mosaic” effect (besides Mosaic, you can also try the “Blur” effect). You can then adjust the area where you want the mosaic to be placed, otherwise, the effect will cover the entire video. When you get the result you want, click “OK” to save the changes.
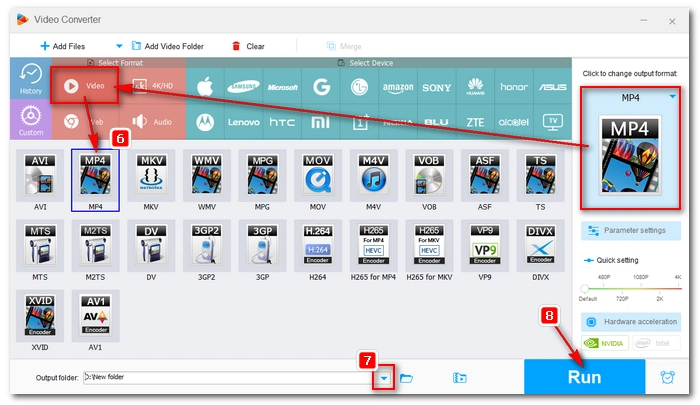
Click the format image on the right to open the output format list and select the desired video format. Next, click the ▼ icon at the bottom of the interface to select the destination folder. Finally, press "Run" to export the file immediately.

You can also use Clipchamp, Windows 11’s built-in video editor, to blur or mask a video part that you don’t want your viewers to see.
Clipchamp is prepared for users with little or no video editing experience, so you can edit videos quickly and easily. Now, let us follow the steps below to use the blur effect in Clipchamp to protect your privacy.
Tip: In addition to Windows 11, you can also get Clipchamp on Windows 10 from the Microsoft Store or access the Clipchamp website.
Step 1. Open Clipchamp and sign into your account.
Step 2. Click “Create a new video”.
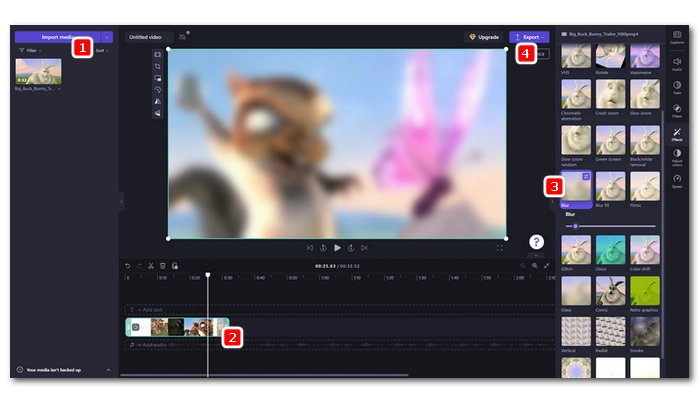
Step 3. Click “Import media” to upload your video. Drag-and-drop is also supported.
Step 4. Now, drag the video onto the timeline and select it.
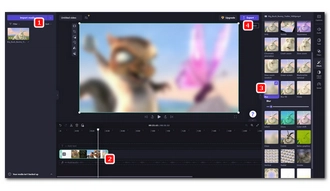
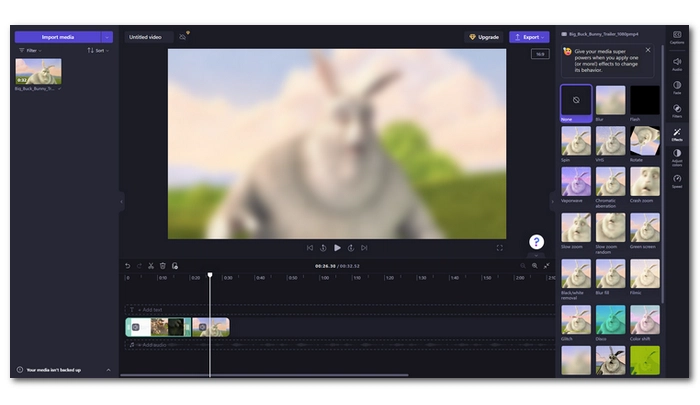
Step 5. Click “Effects” on the right-side menu and scroll down to find the “Blur” effect. Click on that option to apply this blur effect to your entire video. You can adjust the intensity of this effect using the slider.
You can also add effects to a section of your video. Just go to the timeline and move the slider to the start time of the clip where you want to add the effect. Then click on the scissors icon to split the video. Now move the slider to the end time of the clip and split it. Click to select the clip and use the blur effect.

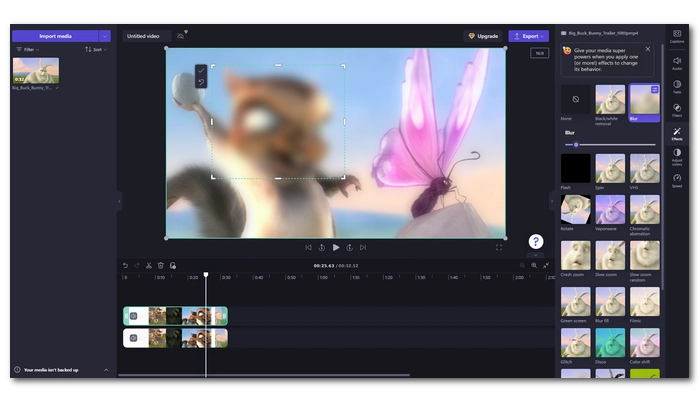
If you want to place the effect on a specific part of the video (such as the face), you need to first select the video on the timeline and press "Ctrl + C", then press "Ctrl + V" to copy the video. Next, click on one of the videos to select it. Then use the "Crop" or “Picture-to-picture” tool in the floating bar to adjust the video to the area where you want to apply the blur effect.
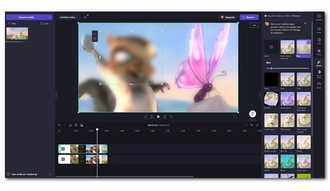
Step 6. When you are satisfied with the result, click the “Export” button and select a quality to finish the process.
It’s also possible for Mac users to mosaic a video with the default video editing application iMovie. While it doesn't offer mosaic effects, it allows you to add external mosaics to your videos using the picture-to-picture feature to cover faces, watermarks, and more. Additionally, it allows you to add mosaics to moving objects. Here's how to create a video mosaic in iMovie.
Step 1. Download a mosaic picture from the internet.
Step 2. Open iMovie and drag your video onto the timeline.
Step 3. Drag the mosaic picture above the video in the timeline. Then adjust the left and right handles to expand the boundaries where you want the mosaic to appear.
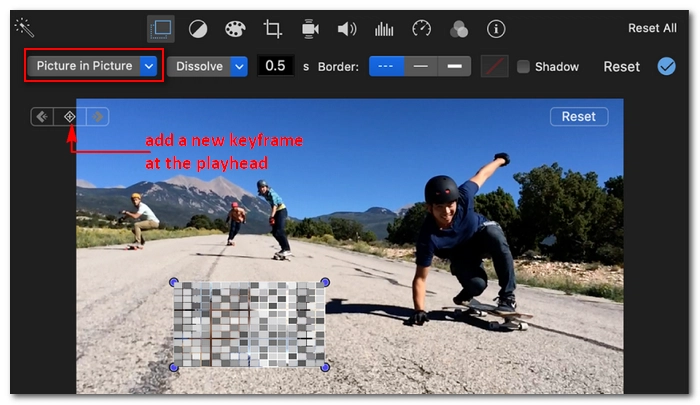
Step 4. Click the “Video Overlay” button and choose “Picture in Picture” on the left. Now, you will see that the mosaic picture shows up on top of the video.
Step 5. Reposition the picture to cover the desired part of the video.
Step 6. If you want to add mosaic to a moving object, you need to go to the frame the object comes into and place the picture on the object. Next, click the control button (add a new keyframe at the playhead). Then press the right arrow key and adjust the picture slightly, repeating this until the object disappears.
Step 7. Click the Share button and export the final video to your local folder.
Tip: To make the mosaic effect look more natural, you can first export the video as a low-resolution copy. Then import the low-res video on top of the original video and use the picture-to-picture effect. Next, crop the low-res video and place it in any part you want. Note that this is only suitable for covering objects that have no or little movement.
Premiere Pro is a powerful video editing software that is more than enough to add mosaic to videos but is also capable of other professional video editing. It can add mosaic to not only parts of the video but also moving objects, such as faces, car plates, etc. Although the program is complex, using the mosaic effect in Premiere Pro is quite easy. If you are a Premiere Pro user, simply follow the instructions below to apply mosaic to your video.
Step 1. Open your video in Premiere Pro.
Step 2. Click the Effects tab and find the Mosaic effect. Drag the mosaic effect to your video in the timeline. The effect will be applied to the whole video instantly.
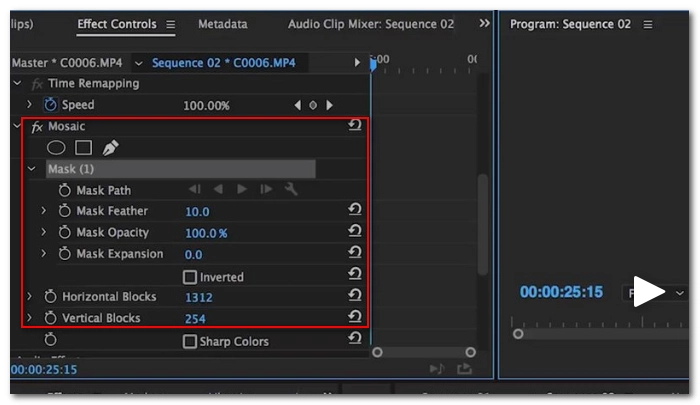
Step 3. Go over to the Effect Controls where you can choose a mosaic shape. Then place the mosaic to the part you want to cover.
Step 4. Next, you can change the horizontal blocks and vertical blocks to make your mosaic more natural.
Step 5. Now, go over to the Mask Path and click the play button. It will start tracking the selected mask forward or backward automatically. If there is a frame where the mosaic isn’t correctly placed, you can stop on that frame and modify it manually.
Step 6. When you get your wanted result, click File > Export > Media, and then save the video.
If you don't want to install programs, you can try an online service like FlexClip, which you can access from anywhere as long as you have an internet connection. It offers a variety of mosaic elements that can be added to your videos. However, this effect only works with still objects. Let’s see how to add a mosaic effect to your video in FlexClip.
Note: If you use the free version, FlexClip will add a watermark to the final video.
Step 1. Open FlexClip in your browser and sign into your account.
Step 2. Click “Create a video” to start a new project.
Step 3. Upload a video to the website. Then drag the file onto the timeline.
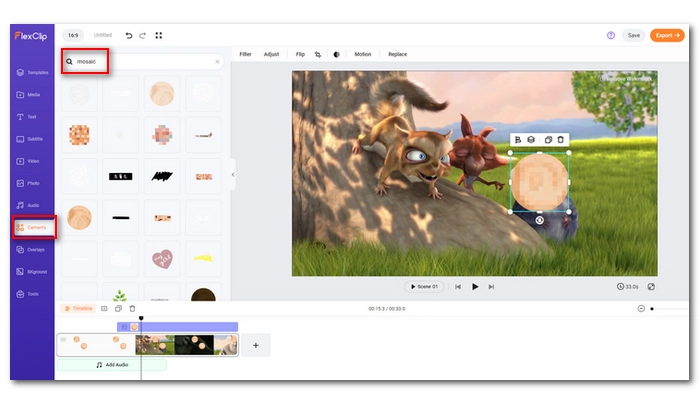
Step 4. Choose the Elements option on the left-side panel.
Step 5. Search for “mosaic” and choose your preferred type to add to your video.
Step 6. Adjust the position and size of the mosaic as desired.
Step 7. At last, click Export and choose a quality to export the video to your device.
Today, you have many options to add a mosaic effect to a video. Whether you want to edit the video on your PC, Mac, phone, or online, you can easily find a number of tools to use. However, if you don’t know how to start, reading this article can be helpful. It covers five efficient ways to edit a video with a mosaic effect. Just pick your favorite method and start your work!
That is all I wanted to share in this article. I hope it was useful. Thanks for reading till the end. Have a great day!
You can try the five methods we introduced to add a mosaic to a video. Take WonderFox Free HD Video Converter Factory as an example. You can import your video into this software, open the Effect window, select the mosaic, and add it to any part of your video. Finally, export the file with the result you want.
Terms and Conditions | Privacy Policy | License Agreement | Copyright © 2009-2026 WonderFox Soft, Inc.All Rights Reserved