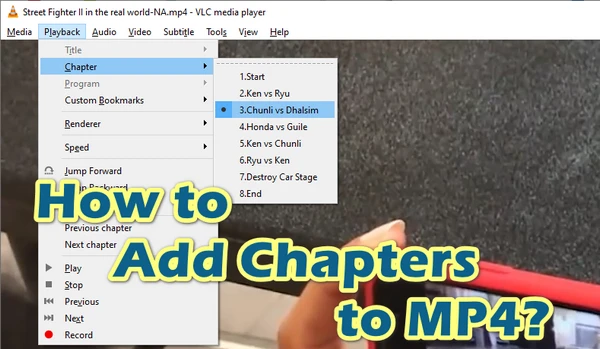


Adding chapters to your MP4 files can make them more organized and easier to navigate, especially in lengthy videos. They are akin to chapters in a book, providing a structured and quick navigation through the content.
It's beneficial for educational content, tutorials, or even long movies, making it easier to find and rewatch specific parts without scrubbing through the entire timeline.
FFmpeg is a powerful open-source command-line tool for editing and converting videos. Here are the steps to use FFmpeg for adding chapters:
Step 1. Download and install FFmpeg from its Official Website. Ensure you get the version compatible with your operating system.
Step 2. Create a text file containing the chapter information. Each chapter should be formatted as follows:
;FFMETADATA1
title=StreetFighter
artist=StreetFighter
[CHAPTER]
TIMEBASE=1/1000
# Chapter 1 starts at 00:00
START=0
# Chapter 1 ends at 00:15 (minus 1 millisecond)
END=14999
title=1.Start
[CHAPTER]
TIMEBASE=1/1000
# Chapter 2 starts at 00:15
START=15000
# Chapter 2 ends at 00:38 (minus 1 millisecond)
END=37999
title=2.Ken vs Ryu
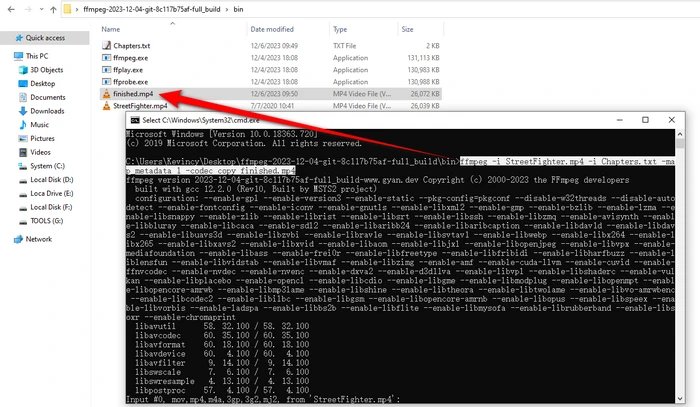
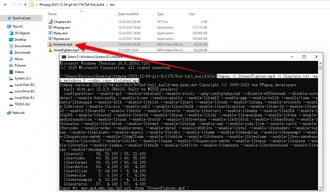
Step 3. Once your chapter file is ready, use the following FFmpeg command to add chapters to your MP4 file:
ffmpeg -i INPUT.mp4 -i Chapter.txt -map_metadata 1 -codec copy OUTPUT.mp4
Replace "INPUT.mp4" with the name of your original video file and "Chapter.txt" with the name of your chapter file.
MKVToolNix-GUI provides a graphical interface for MKVToolNix, which is a set of tools to create, alter, and inspect Matroska files. But it can also work with MP4s.
Step 1. Download and install it from its Official Website.
Step 2. Create a text file, customize chapter titles and durations in the following format:
CHAPTER01=00:00:00.000
CHAPTER01NAME=Enter Chapter 1 Name Here
CHAPTER02=00:00:00.000
CHAPTER02NAME=Enter Chapter 2 Name Here
CHAPTER03=00:00:00.000
CHAPTER03NAME=Enter Chapter 3 Name Here
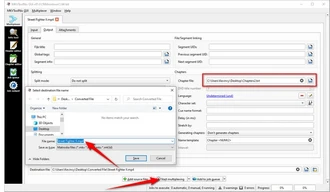
Step 3. Run MKVToolNix-GUI and add your MP4 file in "Input" area.
Step 4. Switch to "Output" tab, navigate to "Chapters".
Step 5. Add your TXT file to "Chapter file" section.
Step 6. Choose a destination folder, and change the extension from .mkv to .mp4.
Step 7. Finally, click "Start multiplexing" button.

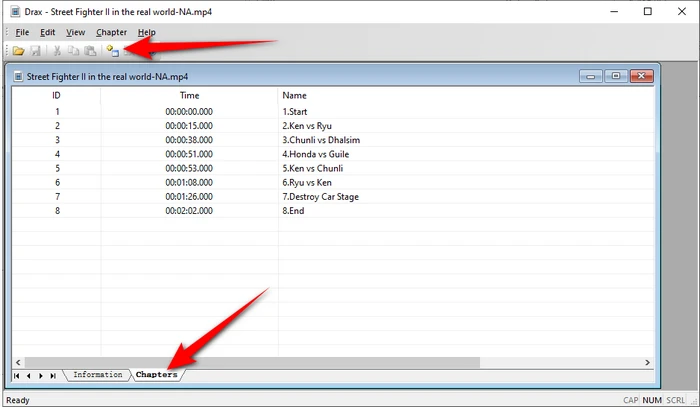
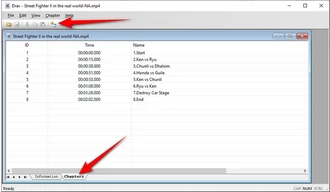
Drax is a lightweight Windows-based utility designed specifically for editing chapter markers in MP4/M4V files. It's user-friendly and perfect for those who prefer a simple graphical interface.
Step 1. Download and install it from GitHub Page.
Step 2. Run Drax and add your MP4 file. Choose "All Files (*.*)" if there is no available video.
Step 3. Switch to "Chapters" tab, click the "+" icon to create a new chapter marker here. Enter the desired timestamps and chapter title.
Step 4. Repeat the process to create multiple chapter markers with titles.
Step 5. Finally, click the "Save" icon to write chapters into the MP4 video.
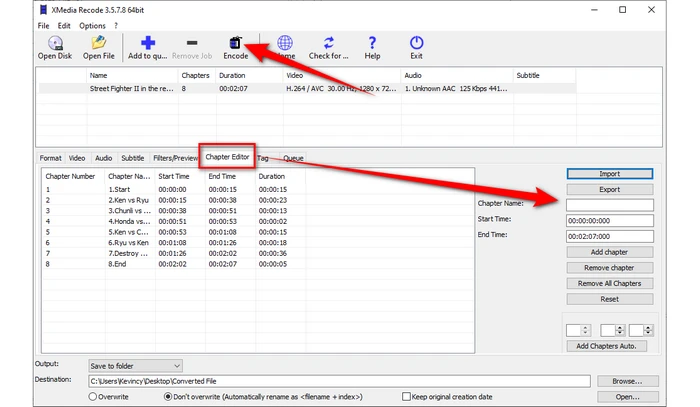
XMedia Recode is a free video and audio converter that also an easy workflow to chapterize MP4 file on Windows.
Step 1. Download and install it from Official Website.
Step 2. Launch XMedia Recode, click on the "Open File" button to add your MP4 file.
Step 3. Choose "MP4" as output format.
Step 4. Navigate to "Chapter Editor" tab, specify chapter positions and names accordingly.
Step 5. Specify an output folder at the bottom and click "Add to queue" button.
Step 6. Finally, hit "Encode" button to start processing.
A: Yes, open chapterized MP4 files in tools like HandBrake, MKVToolNix, Drax, etc. to edit specific chapters.
A: Yes, if you remux the MP4 file into formats like MKV or MOV, the added chapters will still work.
A: No, HandBrake can ONLY copy chapters from your source to output MP4, MKV, or WebM. You're NOT allowed to add new chapter markers.
A: No, but instead, you can customize bookmarks in VLC to achieve similar purposes.
A: Actually, you can upload it to YouTube as usual. But all the chapters will be lost. You need to add video chapters in YouTube video by adding a list of timestamps and titles in Description.
In summary, adding chapters is a great way to structure your MP4 videos and access specific points easily. Experiment with different methods to discover the one that best suits your workflow, and enjoy the benefits of a seamlessly chapterized MP4 experience. Elevate your content, engage your audience, and make navigating your videos a breeze.
Terms and Conditions | Privacy Policy | License Agreement | Copyright © 2009-2024 WonderFox Soft, Inc. All Rights Reserved